Tamang Heritage Trek
- 9 Day
- |
- Moderate Hike
Unbeatable Holiday Offers – Save Up to 20% on Your Next Adventure!
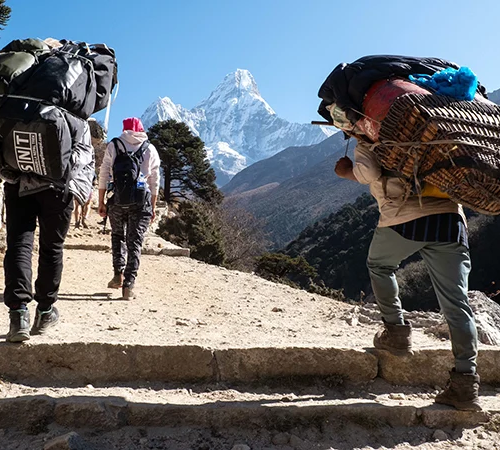
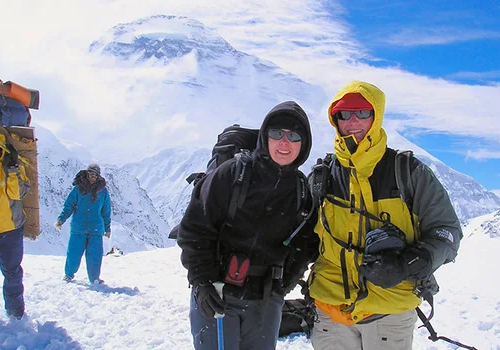
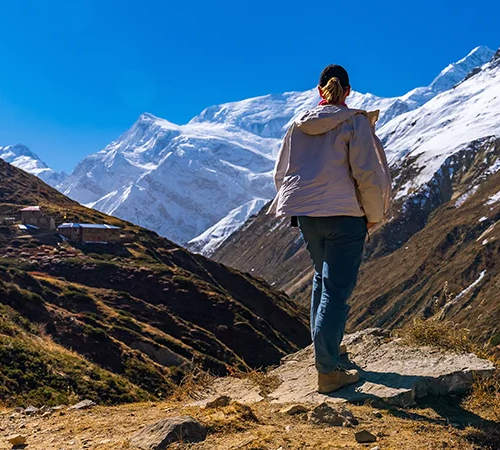
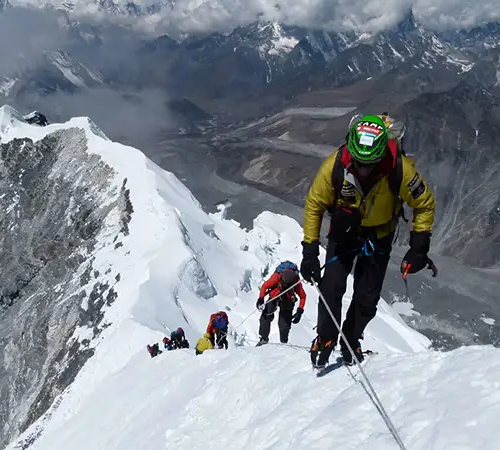
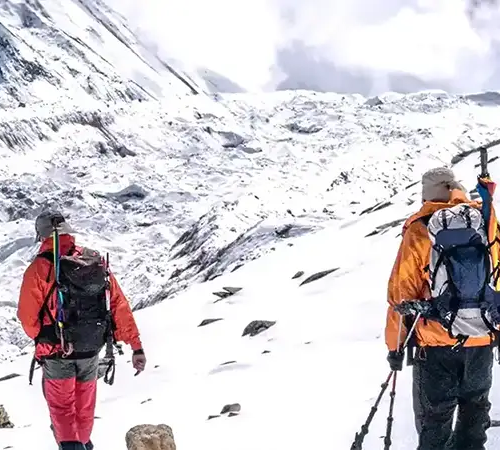
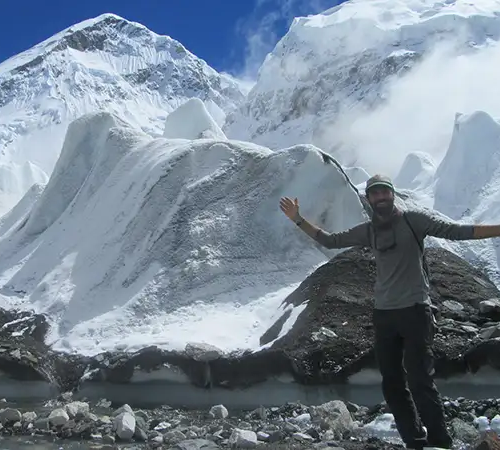
Trekking in the Everest region means being face-to-face with the world’s highest peak and its surroundings. You’ll trek through a pine forest, with the granite peaks rising sharply in the background. The glaciers shimmer under the clear blue sky, and local Sherpa villages stand at high altitudes, with mani stones marking every corner. You’ll enter the Sagarmatha National Park, a UNESCO World Heritage Site that safeguards this fragile landscape. Each step into the trail reveals a mix of spirituality and the raw beauty of the Himalayas.
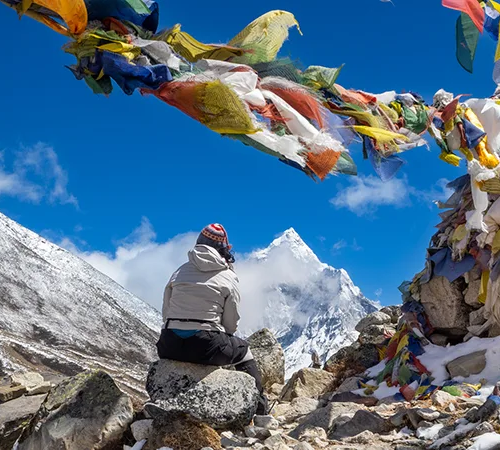
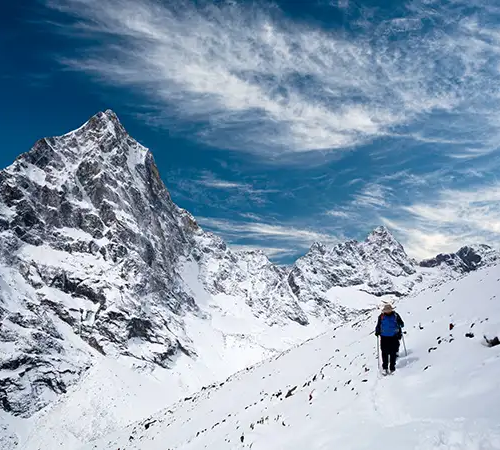
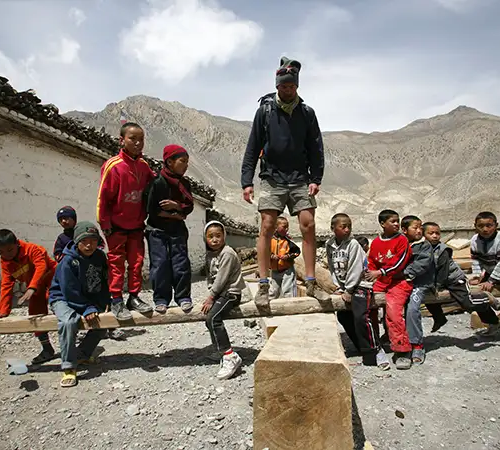
You’ll walk among Sherpa people in the Solukhumbu District. This indigenous group honors the mountain gods and celebrates age-old festivals. Namche Bazaar commemorates the first climbers of Mount Everest with a Hillary-Tenzing Memorial. The prayer flags guide you on your way towards Everest. A few valleys are vibrant with blooming rhododendrons, while the next are ice deserts. In just hours, you’ll trek through contrasting landscapes from thick pines to glistening glaciers in the Everest region. The Everest region trek is a trek of both awe and discovery.
Spring (March to May): Days are warm, skies are clear, and forests bloom with rhododendrons. At higher altitudes, snow still covers the ground, and the weather is stable. It is one of the most popular trekking and ideal climbing seasons with mild temperatures and perfect conditions.
Autumn (September to November): The air is crisp, and the sky is bright after the monsoon. Monsoon leaves with a clean atmosphere and incredible mountain views. October brings the Mani Rimdu Festival, adding culture to your trek. It is the most popular trekking season.
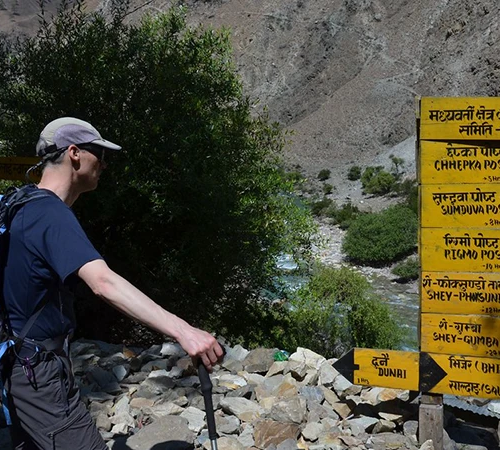
Monsoon (June to August): Monsoons have heavy rain and slippery trails. Clouds often block the views of the peaks. Forested trails are infested with leeches, and landslide risk increases. The only regions in Nepal safe enough to trek during the monsoon are the rain-shadow areas, such as Upper Mustang and Dolpo.
Winter (December to February): Winter brings freezing conditions. Areas above 4,000m get heavy snow, and the mountain becomes quieter. Trekking is challenging due to the freezing climate and closed houses. Even in lower-altitude villages, frost and occasional storms occur.
Trekking in the Everest region is possible year-round, but spring and autumn are ideal. These seasons offer the best combination of comfort, views, and cultural experiences. Summer is only suitable for lower-altitude treks, while winter treks require highly experienced teams. As the weather changes rapidly, you must always check the weather forecast and add a few buffer days in Kathmandu and Lukla.
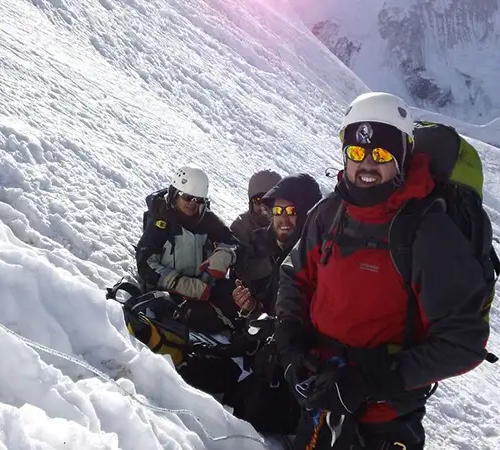
Altitude adds difficulty to each step. You must trek slowly and steadily to let your body adjust to the increasing altitude. Once you’re above 2,500m, don’t gain more than 300-500m of elevation daily. Most itineraries include acclimatization days in Namche Bazaar (3,440m) and Dingboche (4,410m). You should follow the golden rule of climbing high and sleeping low to stay safe. For example, you might hike to 4,000m and return to sleep at 3,500m so your body can adapt.
To prevent it, you should know the common warning signs of Acute Mountain Sickness (AMS). Don’t ignore symptoms like headache, nausea, dizziness, or unusual fatigue. If your symptoms worsen, you must stop ascending or descending until you feel better. Never ignore severe symptoms or push yourself past your limit. Acclimate properly for a safe Everest trek.
Drink at least 4 liters of fluids, such as water, daily. You can carry a refillable bottle and sip regularly. Use purification tablets or a filter to purify your water. You can also ask lodges to boil water, which will cost you extra. Add electrolytes to maintain the salt balance, and snack on soups, crackers, or other salty foods throughout the day.
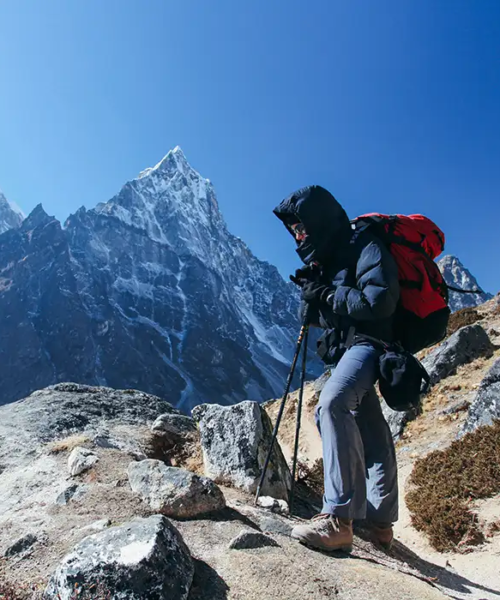
The sun is harsh at high altitude, and the snow reflects its rays. You must always apply high SPF sunscreen on your face, no matter the day. Wear a wide-brimmed hat, UV-blocking sunglasses, and a scarf or sun hat to protect your skin from the sun when trekking above the tree line.
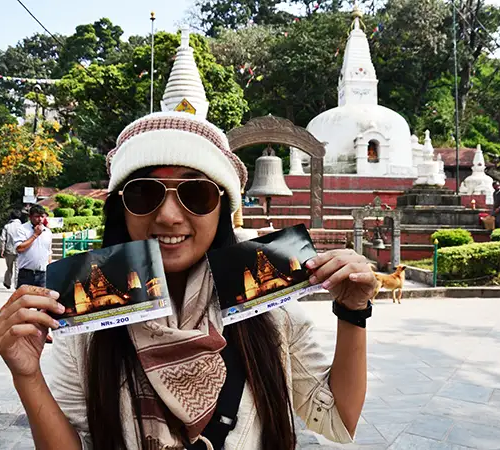
You cannot get your permits on your own in the high mountains. A licensed trekking agency or guide must arrange them for you. Your agency or guide will usually arrange your permits in Kathmandu. You need to provide them with a copy of your passport and Nepal visa. Permit offices close on weekends, so allow at least one extra day in Kathmandu.
Always keep your permits with you, as you may have to show them at multiple checkpoints. You should store them in a waterproof pouch to avoid damage.
Sagarmatha National Park Permit: You need this permit to enter the Sagarmatha National Park area. The authorities will first check for this permit at Monjo (2,830m) and at other points along the trail. It costs about USD 30 for foreigners. Keep it accessible, as rangers may inspect it multiple times.
Khumbu Pasang Lhamu Rural Municipality Permit: You need this permit to trek in the Khumbu area, including Everest Base Camp. Previously, you’d need a TIMS card; now, this permit has replaced it. It costs about USD 20; rangers check it at Jorsalle and other local checkpoints.
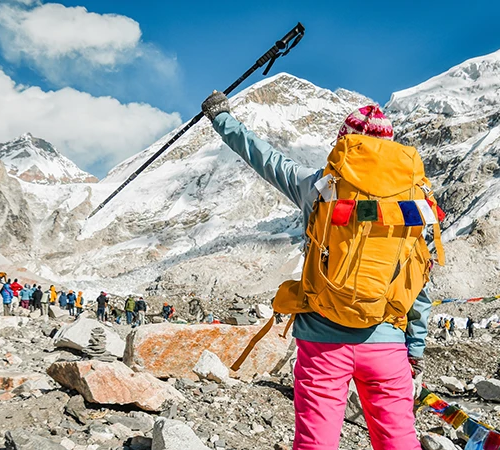
Your adventure begins in Kathmandu (1,400m), Nepal. Take a 30-minute flight to Lukla (2,860m) to officially start their trek. Lukla is home to the famous Tenzing-Hillary Airport, which has been dubbed one of the world’s most dangerous airports. With its short, sloping runway in the mountainside, flying to Lukla is an experience.
Flight delays are common as the weather is unpredictable. You may have to drive 4 hours to Ramechhap, board a flight, or take a jeep to Phaplu. The trek to Lukla is a longer alternative, lasting 7 to 10 days.
Assuming everything went well, after landing in Lukla, you’ll meet your porter, who’ll carry about 15-20kg of your gear.
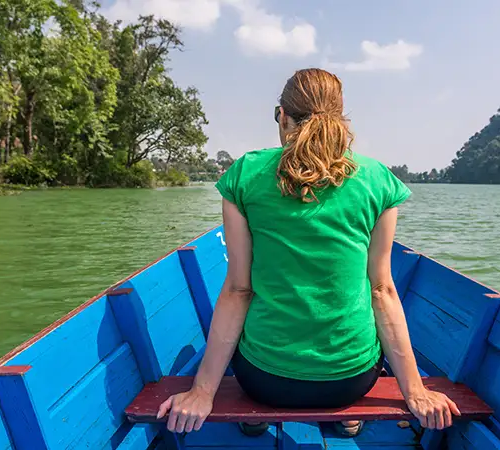
The first day of the trek is a gentle 3 to 4-hour walk along the Bhote Koshi River. The trail crosses pine and bamboo forests and traverses wood-and-steel cable suspension bridges. You can see small villages with a few teahouses on the riverbanks. You’ll spend a night in Phakding on your first day of trek.
On day 2, the trail climbs steadily and crosses forests and suspension bridges, taking you to Sagarmatha National Park. Show your permit to enter the park area at Monjo. Beyond Monjo, the trail ascends steeply through fir and rhododendron forests. After hiking for about 6-7 hours, you reach Namche Bazaar, the heart of the Khumbu region. This Sherpa town has bakeries, cafes, shops, and a sports bar. You’ll spend at least three nights here for acclimatization. By the time you’ll already be trekking inside the Everest region. Depending on the weather, you can see glimpses of Everest, Ama Dablam, and Thamserku from Namche.
Teahouse Accommodation: Trekking in the Everest region means staying in basic teahouses along the trail. These tea houses are family-run, with basic rooms, usually with wooden beds and blankets. You’ll share bathrooms with squat or pit toilets. You can carry your own toilet paper and hand sanitizer.
Bring a sleeping bag rated to –20°C to sleep comfortably at night. Nights are freezing above 4,000m, even with extra blankets. Wear thermal base layers, warm socks, a down jacket, gloves, a scarf, and a hat to stay warm. Since electricity is scarce, power goes out by 8 to 9 PM. You need a headlamp or flashlight to see in the dark. And a portable charger to keep the electronics running.
Meals on the Trail: Simple and filling. A typical breakfast includes porridge, eggs, or pancakes. Lunch and Dinner are often dal bhat, noodles, or fried rice. Dal bhat usually comes with unlimited refills, making it the most reliable food for long trekking days. You can drink hot ginger lemon tea for sore throats and try local treats like yak cheese, boiled corn, or butter tea.
Food options decrease as altitude rises. You can find pasta, pizza, or soup in Namche and Tengboche, but by Dingboche and Lobuche, options decrease to mostly rice and noodles. Prices also rise with altitude, as transporting supplies is extremely difficult. A chocolate bar costing $1 in Kathmandu can cost $5 in the high mountains. Take energy bars, nuts, and dried fruit from the city for quick energy boosts on the trek.
Water and Hydration: Water often comes from melted snow above 5,000m. Tea houses charge about NPR 200-300 per liter of boiled water. Carry at least two liters of water each morning and sip while trekking to prevent dehydration. Use purification tablets, a LifeStraw, or a reusable water bag with a filter if you’re filling water at taps.
Clothing and Trekking Gear: Stay warm and dry by layering. A fleece mid-layer and outer waterproof shell are easily adjustable to changing weather conditions. Rain jackets and pants are functional all year-round. You can use boot gaiters to keep snow and dust out of your boots. You must always carry two sets of socks: one for trekking and one for evenings at the lodge.
Hygiene and Health: Facilities are basic, and showers are rare and expensive above Namche. Most trekkers rely on soap and wet wipes for a makeshift washing. Treat sore spots early to prevent blisters on the feet. A simple trick is to wrap the feet in duct tape to prevent irritation.
Connectivity and Power: Mobile coverage (NTC and Ncell) works up to Namche Bazaar, which is irregularly higher. Some lodges have WiFi, but connectivity is slow and expensive. Power is limited and unreliable, so recharge devices sparingly and carry a power bank.
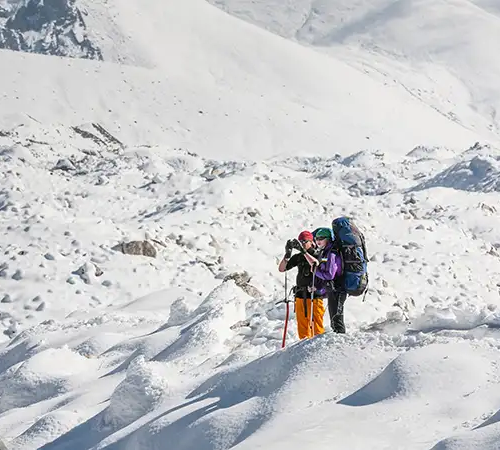
Trekking Pace and Acclimatization: Trek slowly and steadily to conserve energy and ease altitude stress. It’s better to take short and controlled steps than to rush. Take breaks, drink tea, and enjoy the scenery. Go on short walks around town or to viewpoints, avoiding overexertion on acclimatization days.
Practical Travel Tips: Since there are no ATMs above Namche Bazaar, you must carry cash in NPR. Exchange USD for NPR in Kathmandu or Lukla so you can buy services and stuff in the mountains. You need a lightweight daypack for side trips since you can leave larger bags at your lodge. You should always carry extra snacks for energy and motivation.
Clothing Layers: Wear a moisture-wicking base layer to keep sweat off your skin. You can wear an insulating fleece or down jacket as a mid-layer and a waterproof outer shell for wind and rain. Shorts are acceptable at lower elevations, but you need thermal underwear and a heavy down jacket to stay warm above 4,000m.
Footwear: You need sturdy, broken-in, ankle-high hiking boots with firm tread. Wool and synthetic socks keep your feet warm and dry, and liner socks reduce friction and prevent blisters. Gaiters are optional to protect against mud, snow, and dust.
Backpack: Carry a 30-40L daypack with essentials like water, snacks, a camera, a hat, and layers of clothing. Keep the pack light as your porter will carry your heavy duffel bag with all gear.
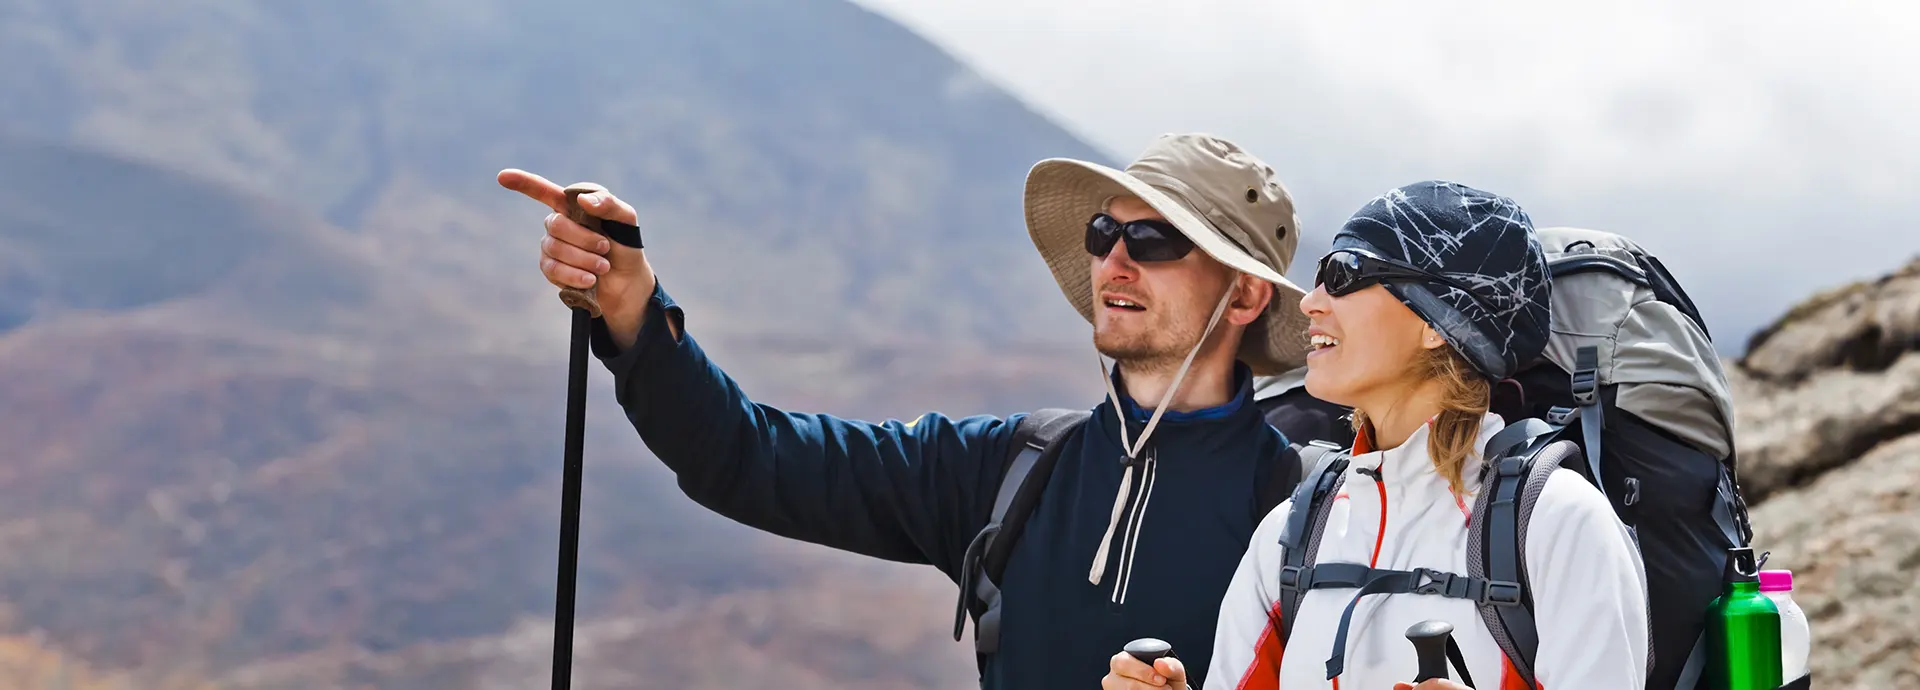
Trekking Poles: Poles reduce knee strain and improve balance on rough trails. You can practice with them on local hikes before the trek.
Sun Protection: The sun rays at high altitude are intense, especially with snow glare. Wear UV-blocking sunglasses, apply SPF 50+ sunscreen to the skin, and use an SPF lip balm to protect the lips and prevent cracking.
Water Treatment: Safe drinking water is essential, so bring purification tablets and a UV purifier or drink boiled water at lodges. Carry at least two liters of water while trekking and sip regularly to avoid dehydration.
First Aid: You need a kit with bandages, blister pads, painkillers, and diarrhea medicine. If prescribed, carry altitude pills like Diamox. You must bring enough personal medicine to last the entire trek. A thermometer and injectable painkillers are also helpful.
Miscellaneous: Other valuable items include a headlamp, a power bank, and something to pass the time in the evenings, like books or cards. Some trekked to pack swimsuits for hot showers in lodges or even a quick dip in Gokyo Lake.
Documents and Insurance: Keep your passport and permits in a waterproof pouch and carry photocopies as backups. Your insurance policy must cover high-altitude trekking and a helicopter rescue. Keep copies of policy and emergency contact numbers accessible at all times.
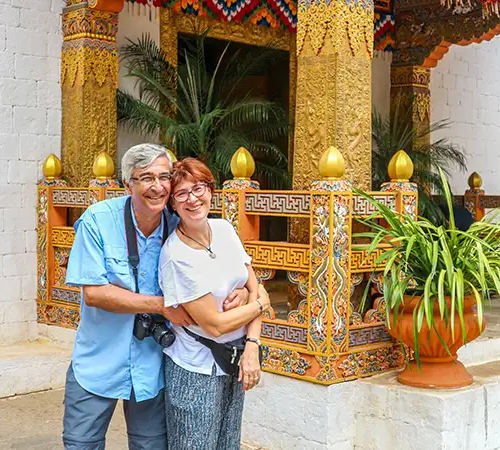
Etiquette and Tipping: You can tip $10-15 to the guide daily and $5-10 to porters daily. You can also give small thank-you gifts. Respect local customs by dressing modestly in villages and religious sites, greeting people politely, and observing traditions with respect.
We offer many Everest region trekking packages. These packages range from difficulty level, price, and trek duration. You can go on a luxury Everest trek or a challenging three passes trek with us.
Duration: 12 days
Difficulty: Moderate to Challenging
The classic Everest Base Camp trek goes through Namche Bazaar and the lush forests of Sagarmatha National Park. The highlights include visiting the Tengboche Monastery (3,870m) with background news of Ama Dablam. Continue to Gorak Shep (5,164m) and on the final day, hike up to Kala Patthar (5,545 m) at dawn for sunrise over the Everest and other peaks. Your destination will be the Everest Base Camp at 5,364m.
Duration: 12-15 days
Difficulty: Moderate to Challenging
This alternative trial goes through the Gokyo Valley and features Gokyo Lakes (the first Lake at 4,700m) and the Ngozumpa Glacier. You’ll cross the Cho La Pass (5,420m) to connect with the main Everest trail. Climb Gokyo Ri (5,357m) for a 360° view of the Everest, Cho Oyu, Lhotse, and Makalu.
Duration: 18–21 days
Difficulty: Very challenging
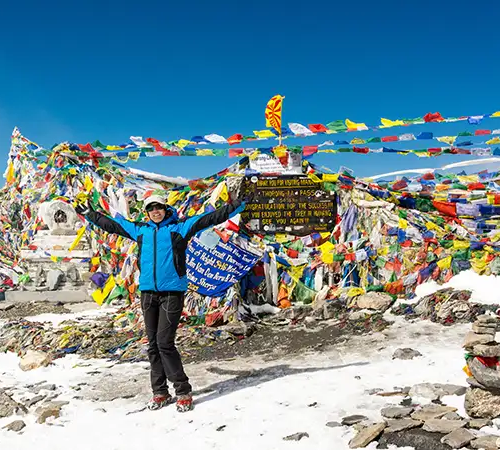
This circuit links both the Gokyo and EBC routes. You’ll cross three high passes of Kongma La (5,535m), Cho La (5,420m), and Renjo La (5,360m). Trails include steep climbs, thin air, and beautiful views of peaks like Makalu, Nuptse, and Kangtega. The trek will take you to remote valleys and stunning viewpoints.
Duration: 7–10 days
Difficulty: Easy to moderate
This trek is short for quick Everest views. Instead of the EBC, you’ll visit viewpoints like the Everest View hotel (3,880m), trek above Namche Bazaar, and visit Tengboche Monastery. This router avoids extreme altitude, making it ideal for beginners and trekkers short on time.
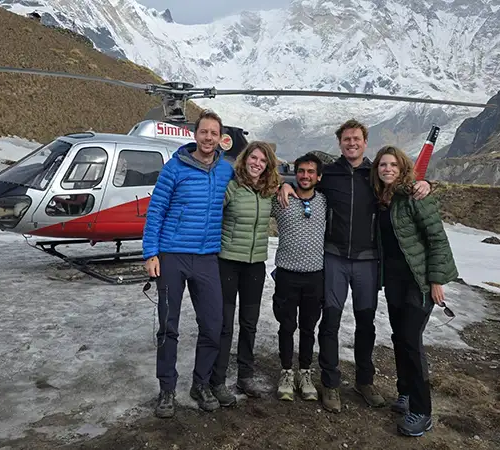
Duration: 9–10 days
Difficulty: Moderate
You’ll usually take a flight to Lukla, then hike to Gorak Shep and Kala Patthar, then board a helicopter to Kathmandu. You’ll save up to 3 days of trekking while still enjoying the full Base Camp experience. This flight offers beautiful aerial views of Everest, Lhotse, and the surrounding Himalayan peaks.
Each Everest Region trek is an adventure and tests your endurance. You’ll experience warm Sherpa hospitality and have the opportunity to stargaze at night. Your legs may ache, but your sense of accomplishment will be high. Many people make lifelong friendships and companions on the trail.
Do not hesitage to give us a call. We are an expert team and we are happy to talk to you.
info@peregrinetreks.com